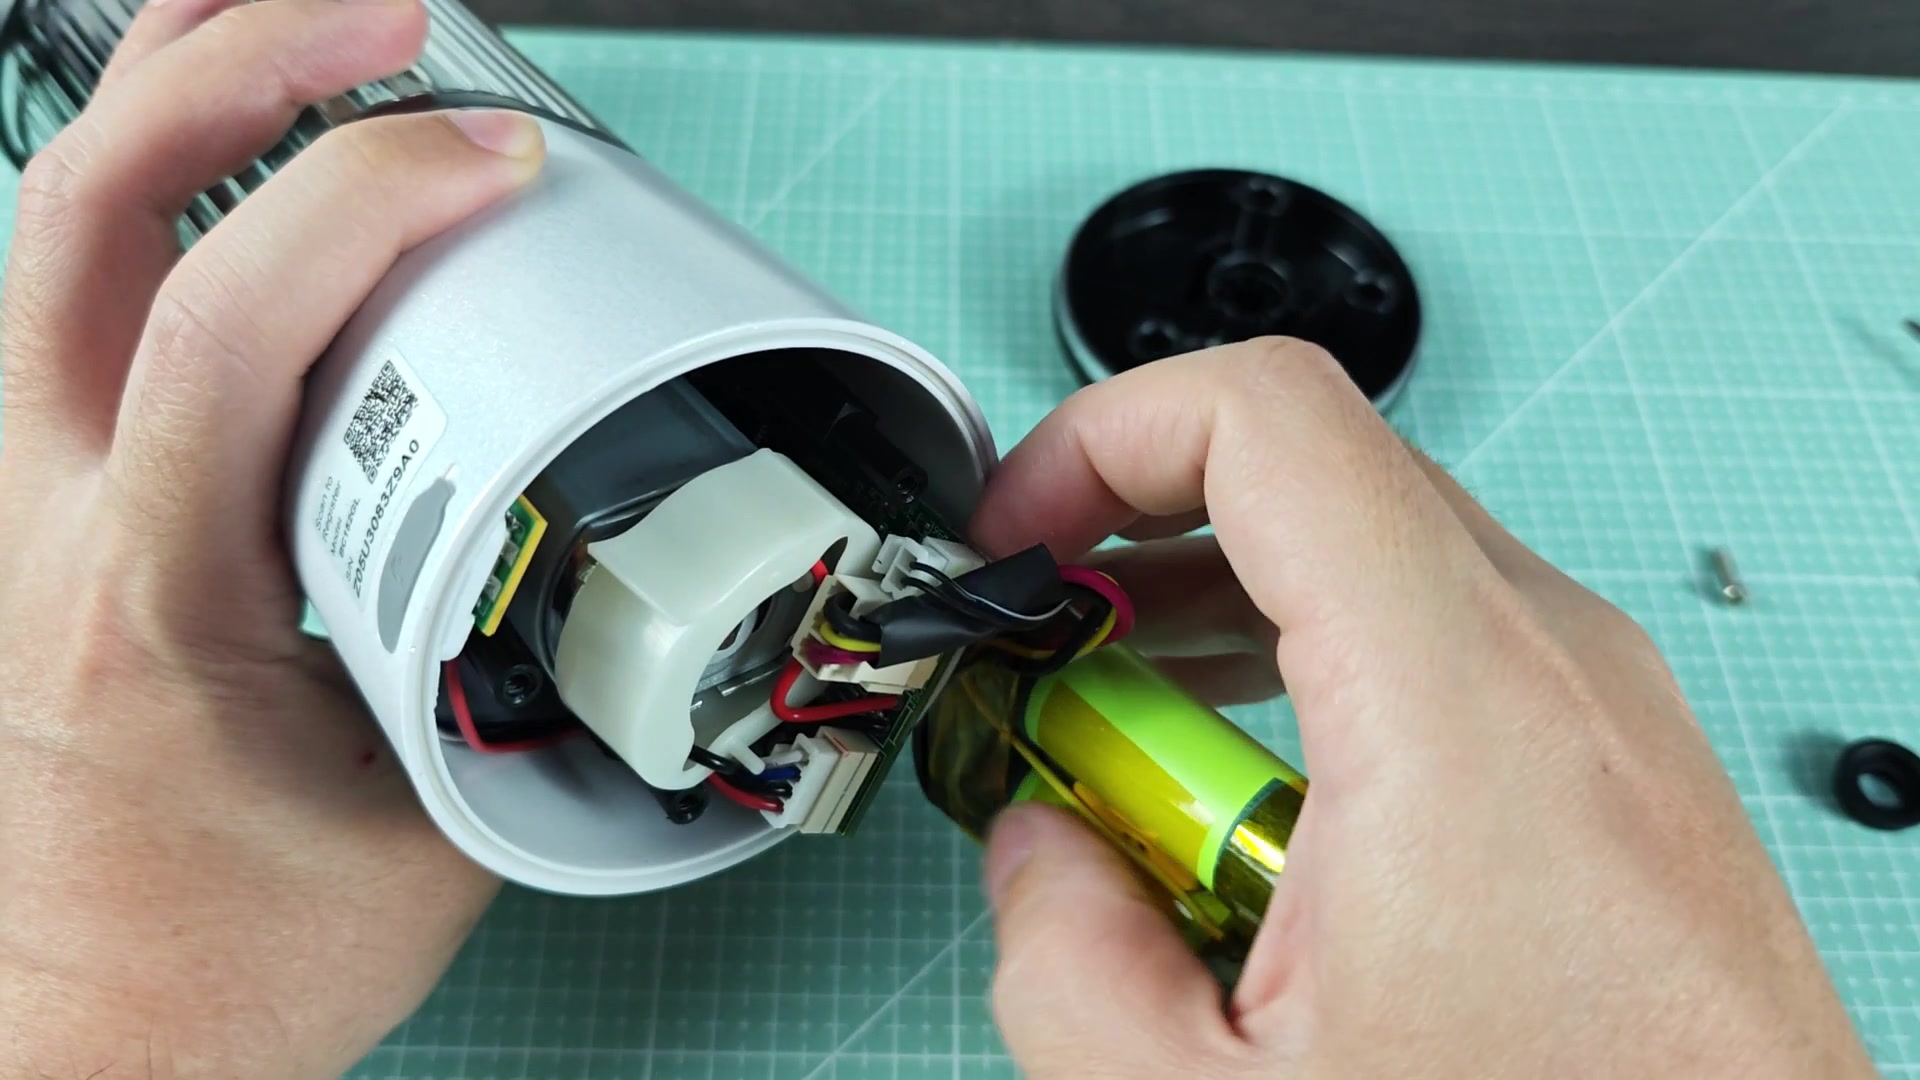
Anyone got a clean way to pop the bottom cover off a Ninja Blast?

May 5, 2026
197
0
6
toolcroze.com
Quick one for anyone who's poked around inside one of these Ninja Blast portable blender. After doing some research on how to get the bottom cover off the motor base to access the battery and read the serial number, there's limited information available. Most tutorials just tell you to "remove the bottom cover" but dont illustrate the steps to doing so.
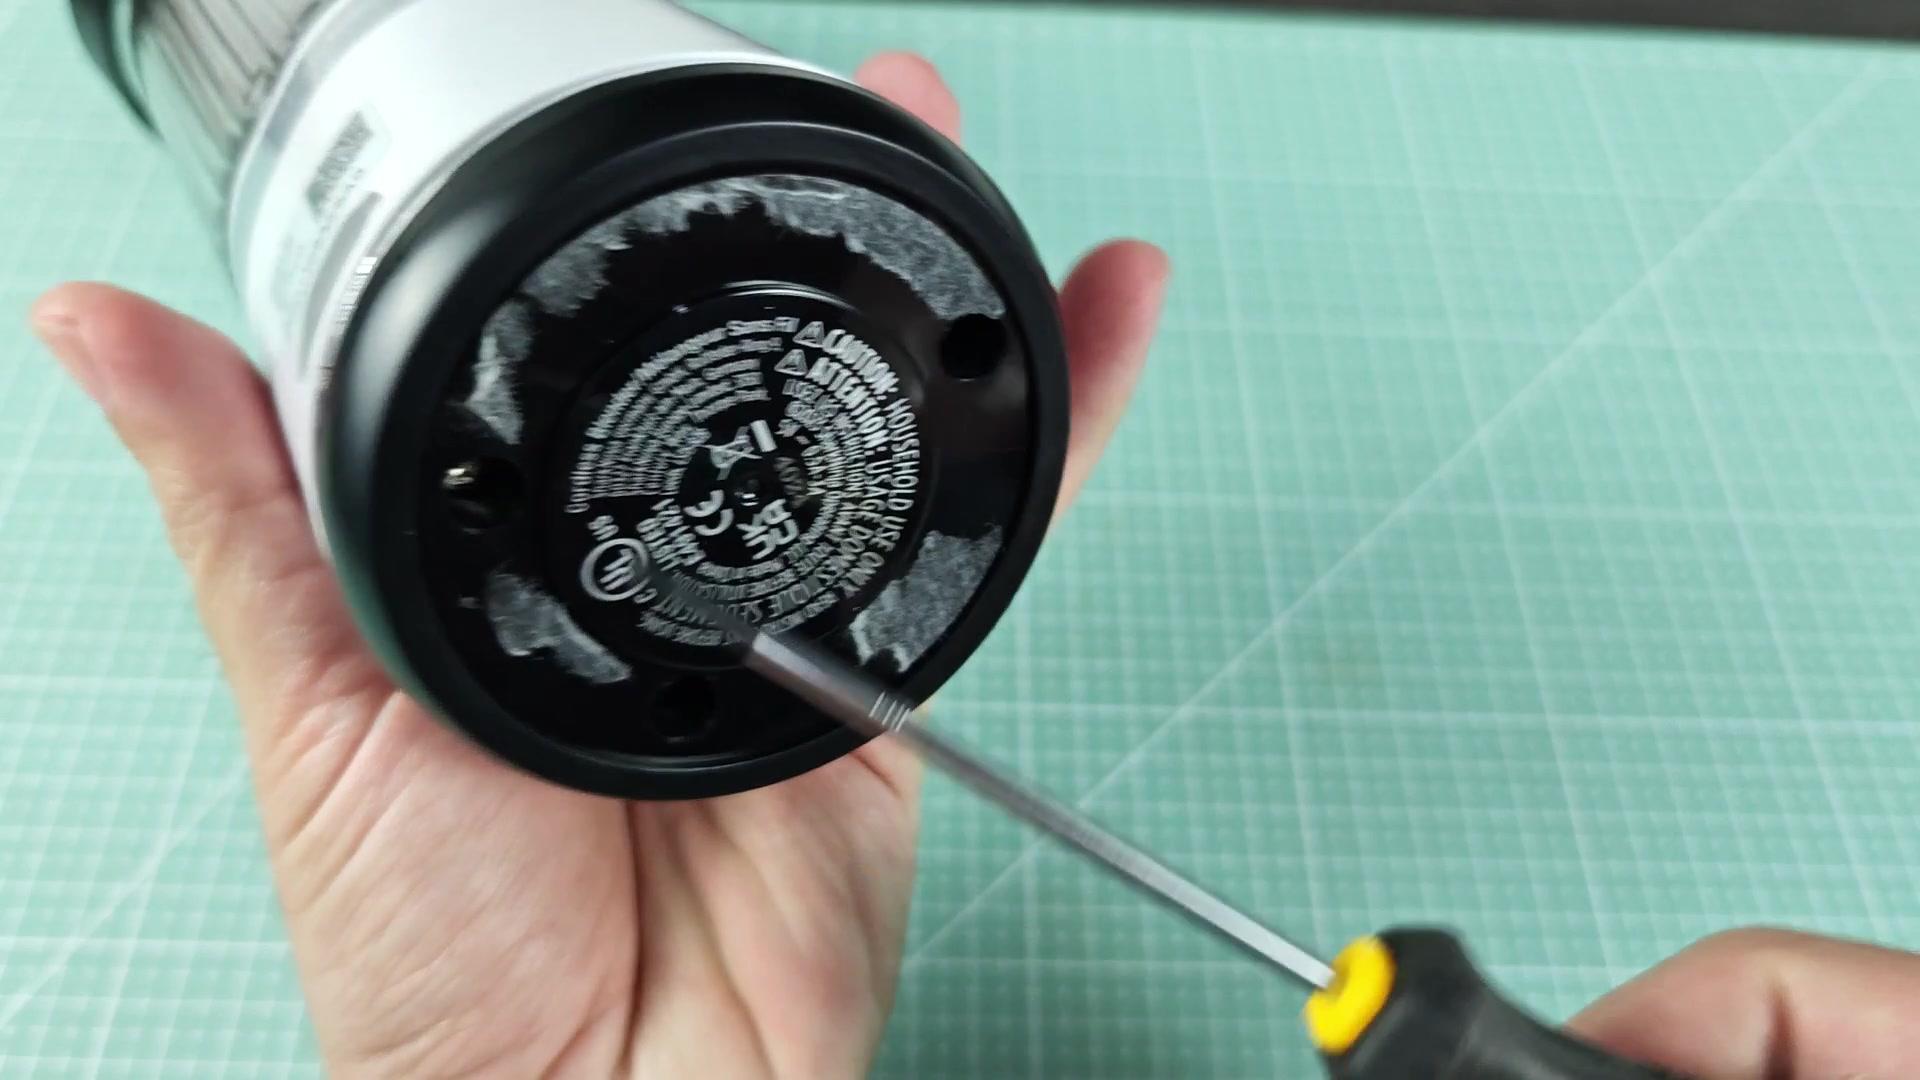
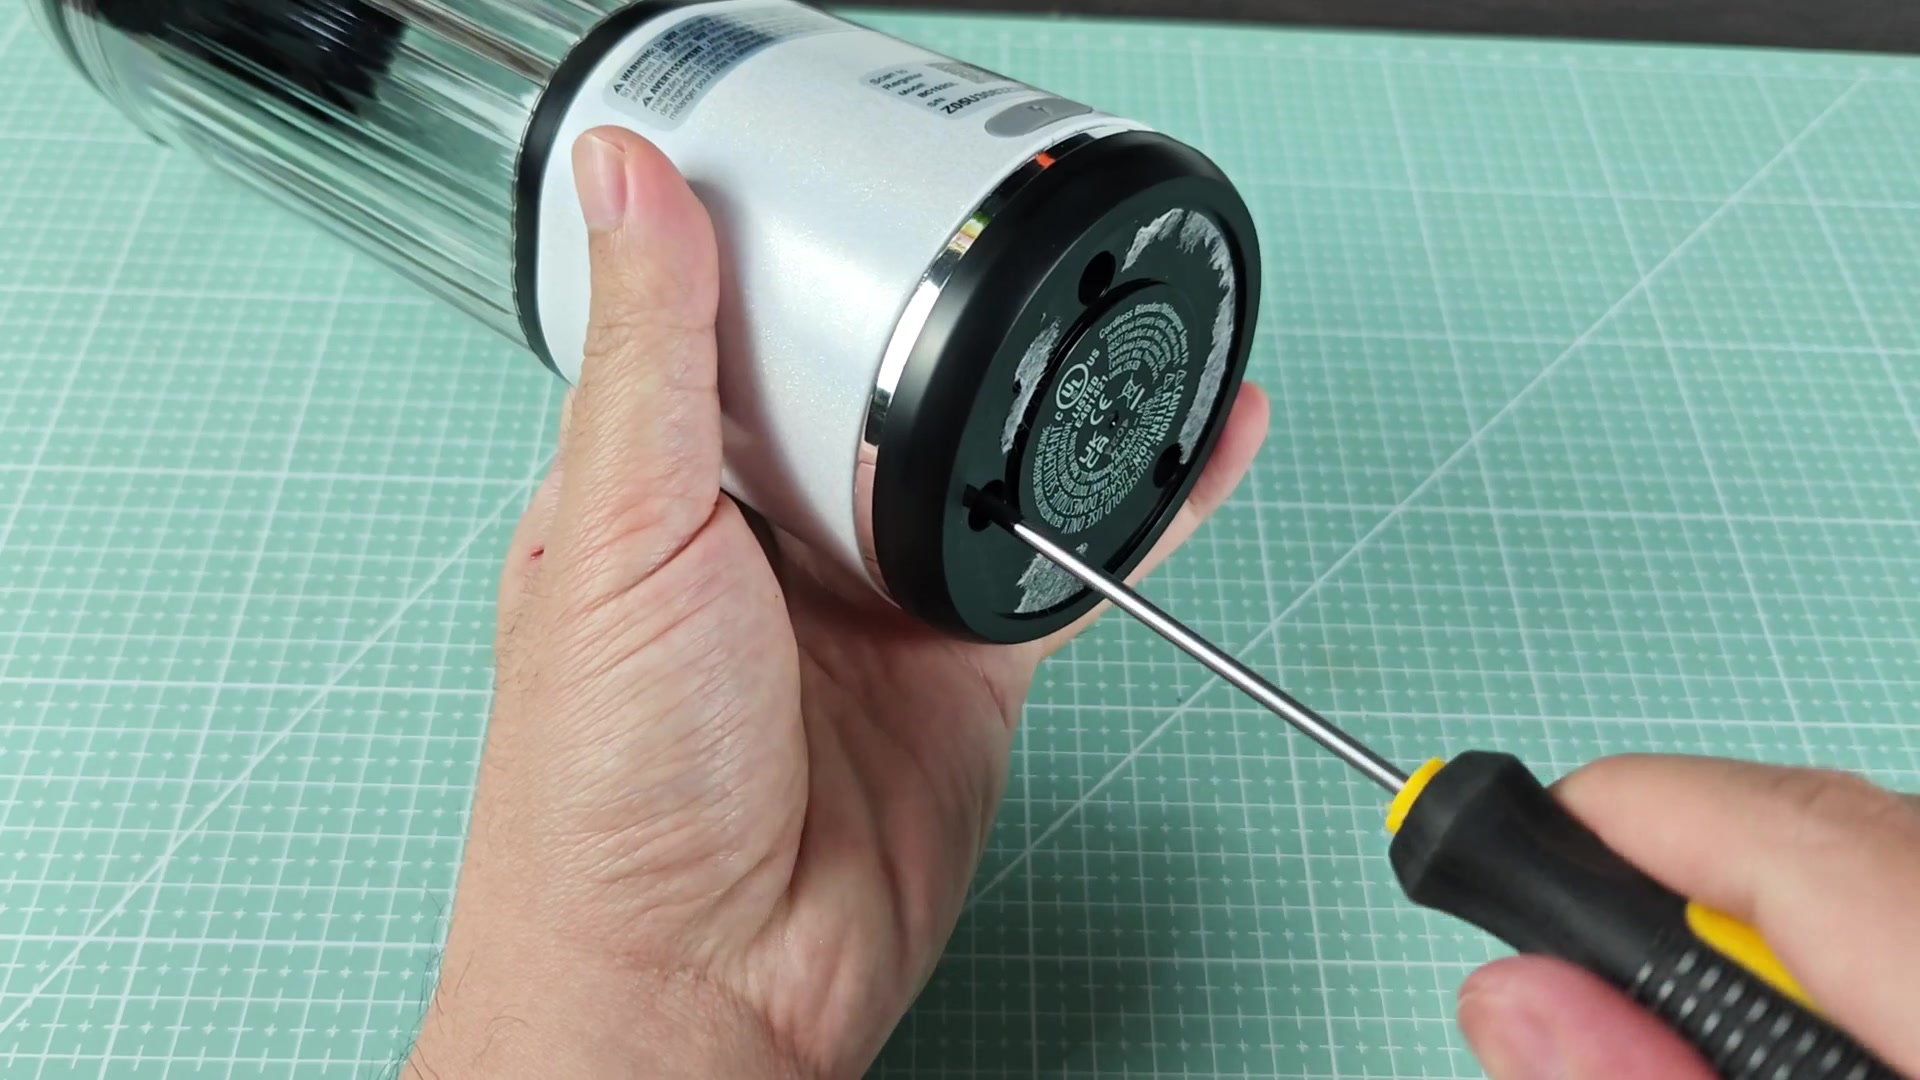
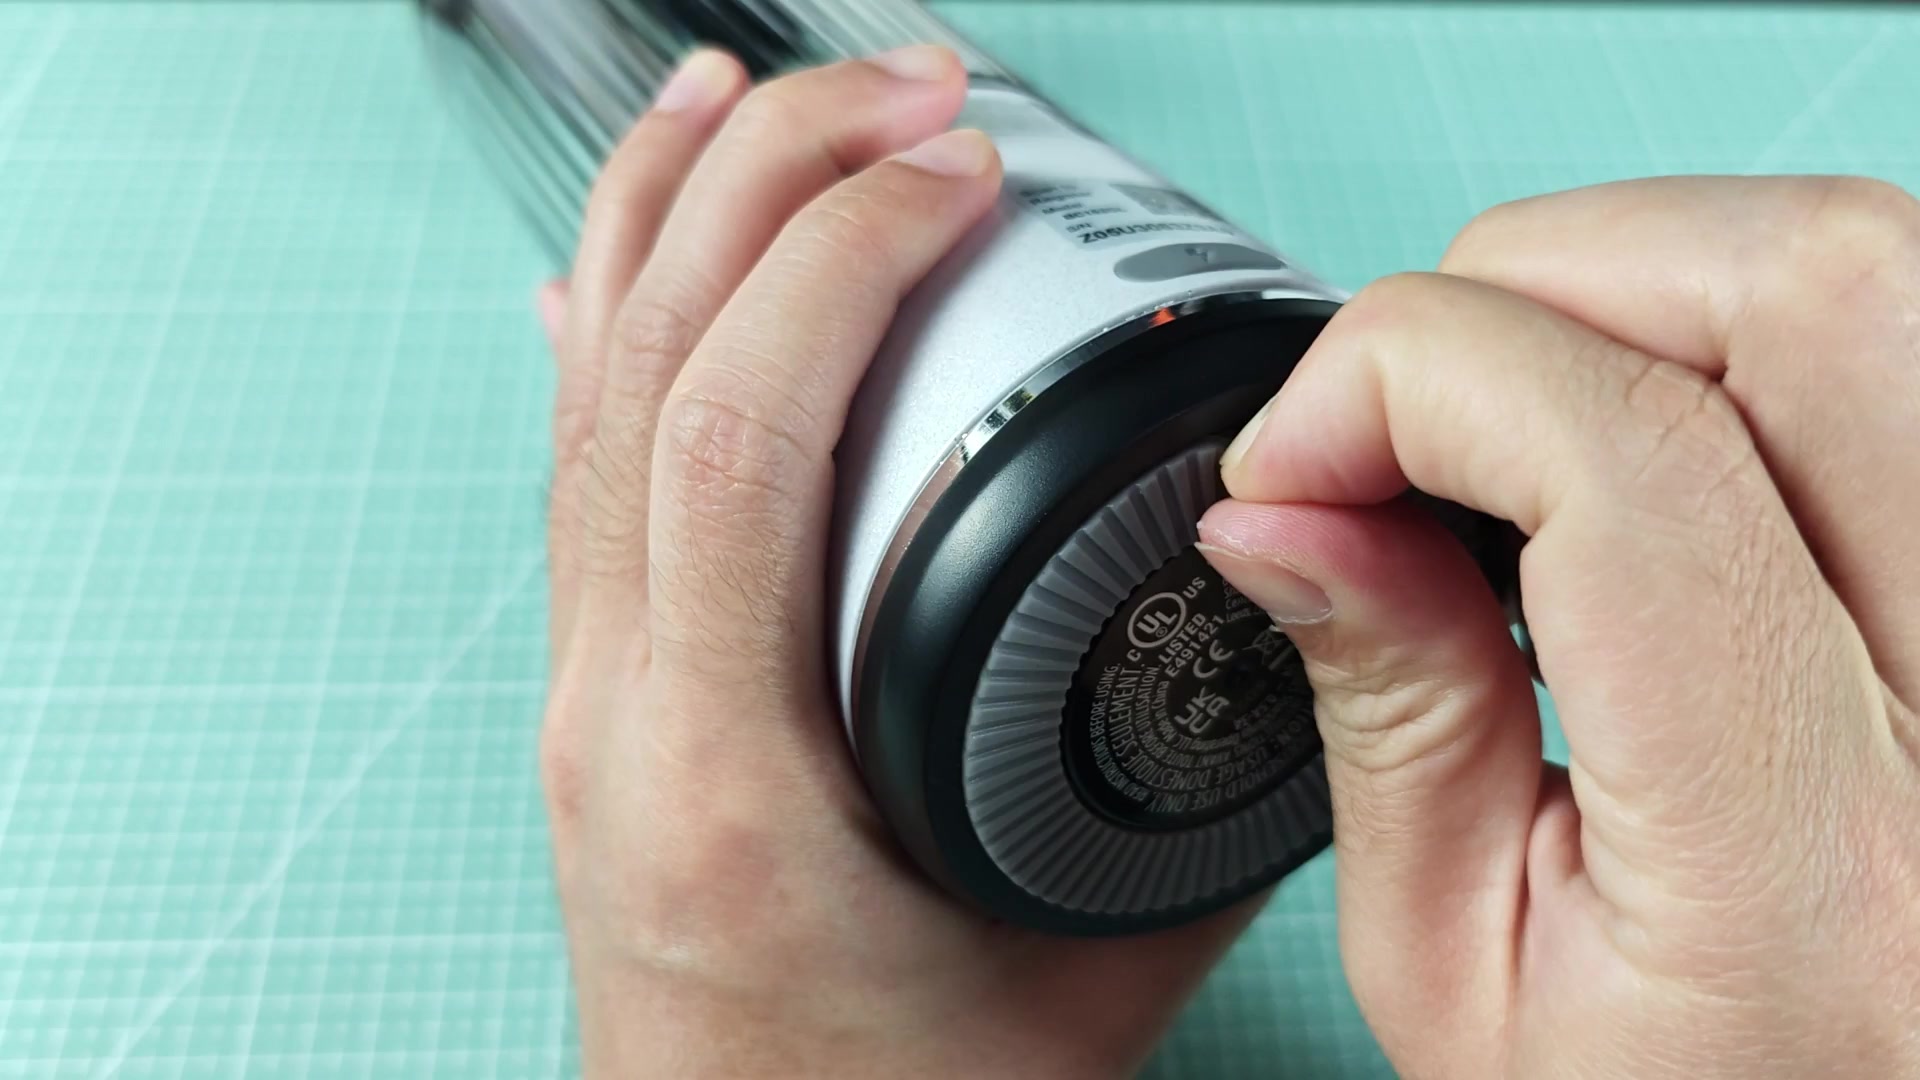
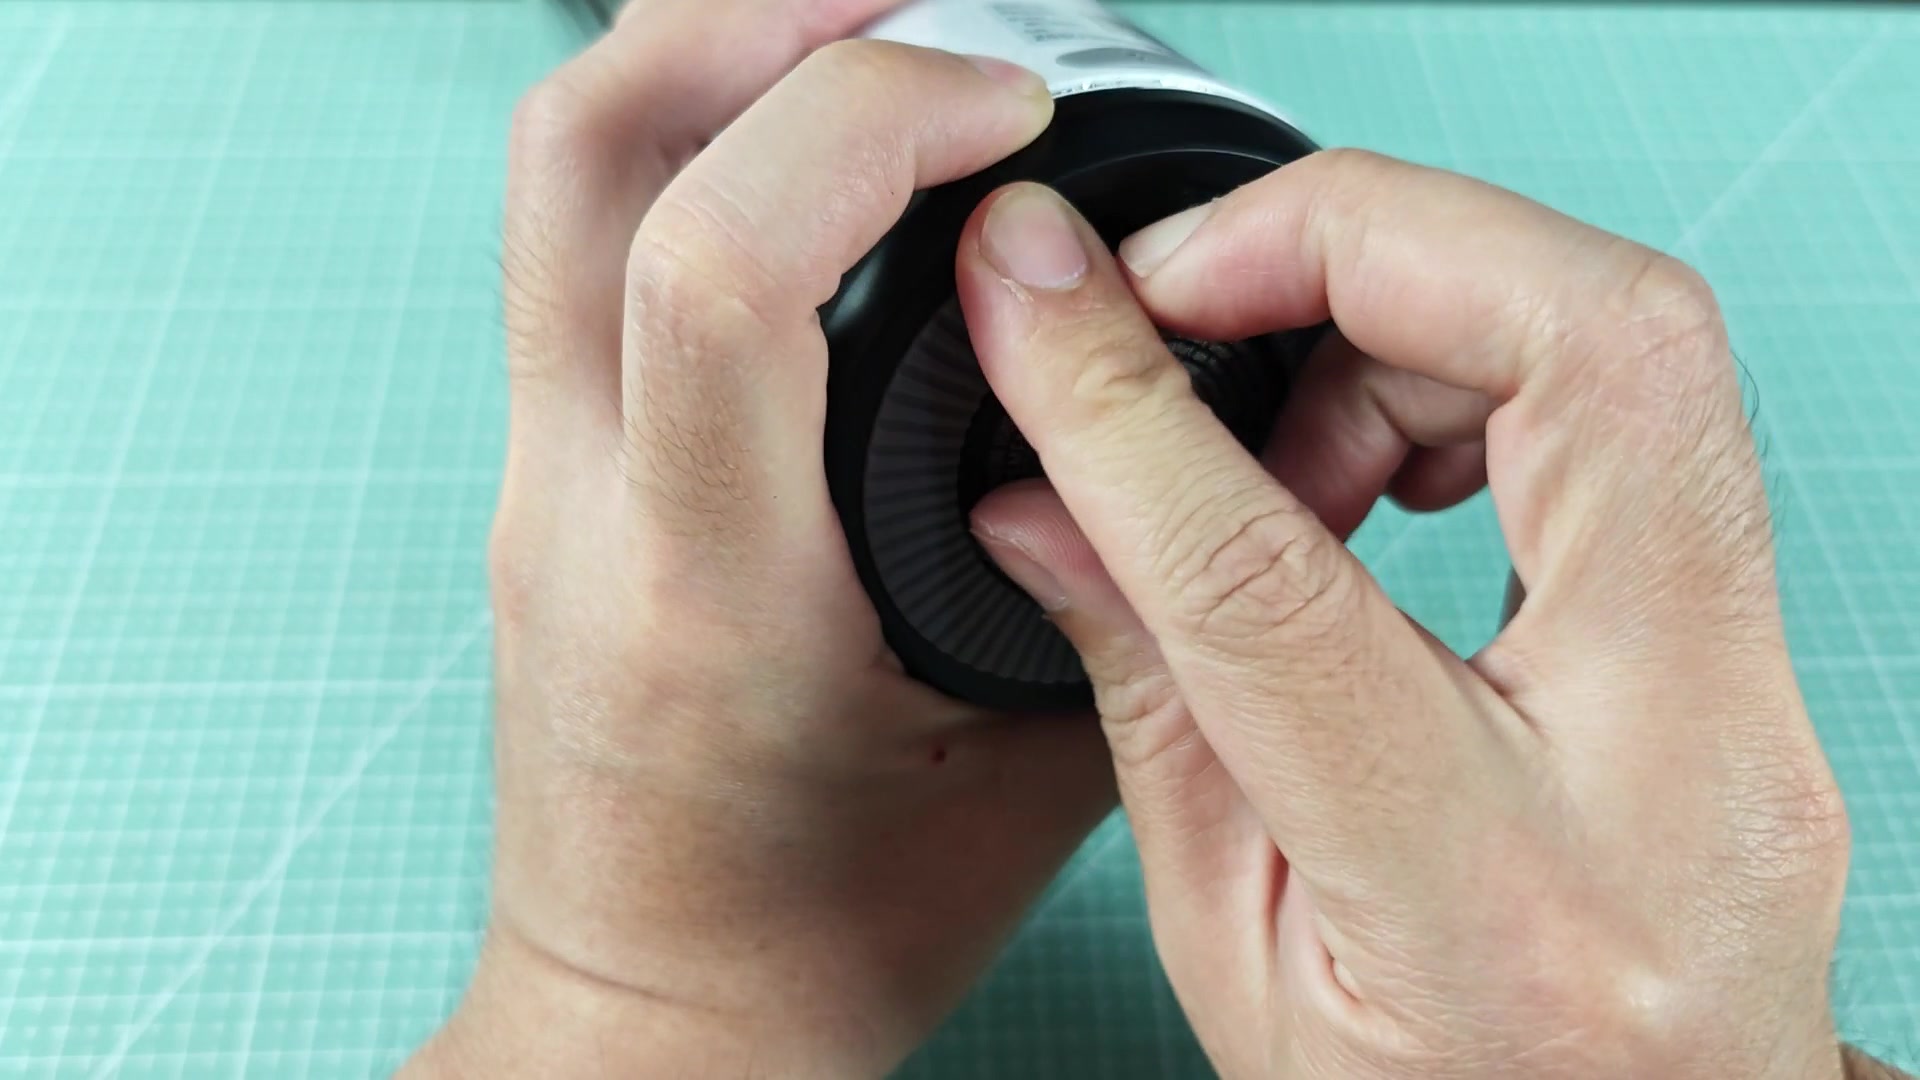
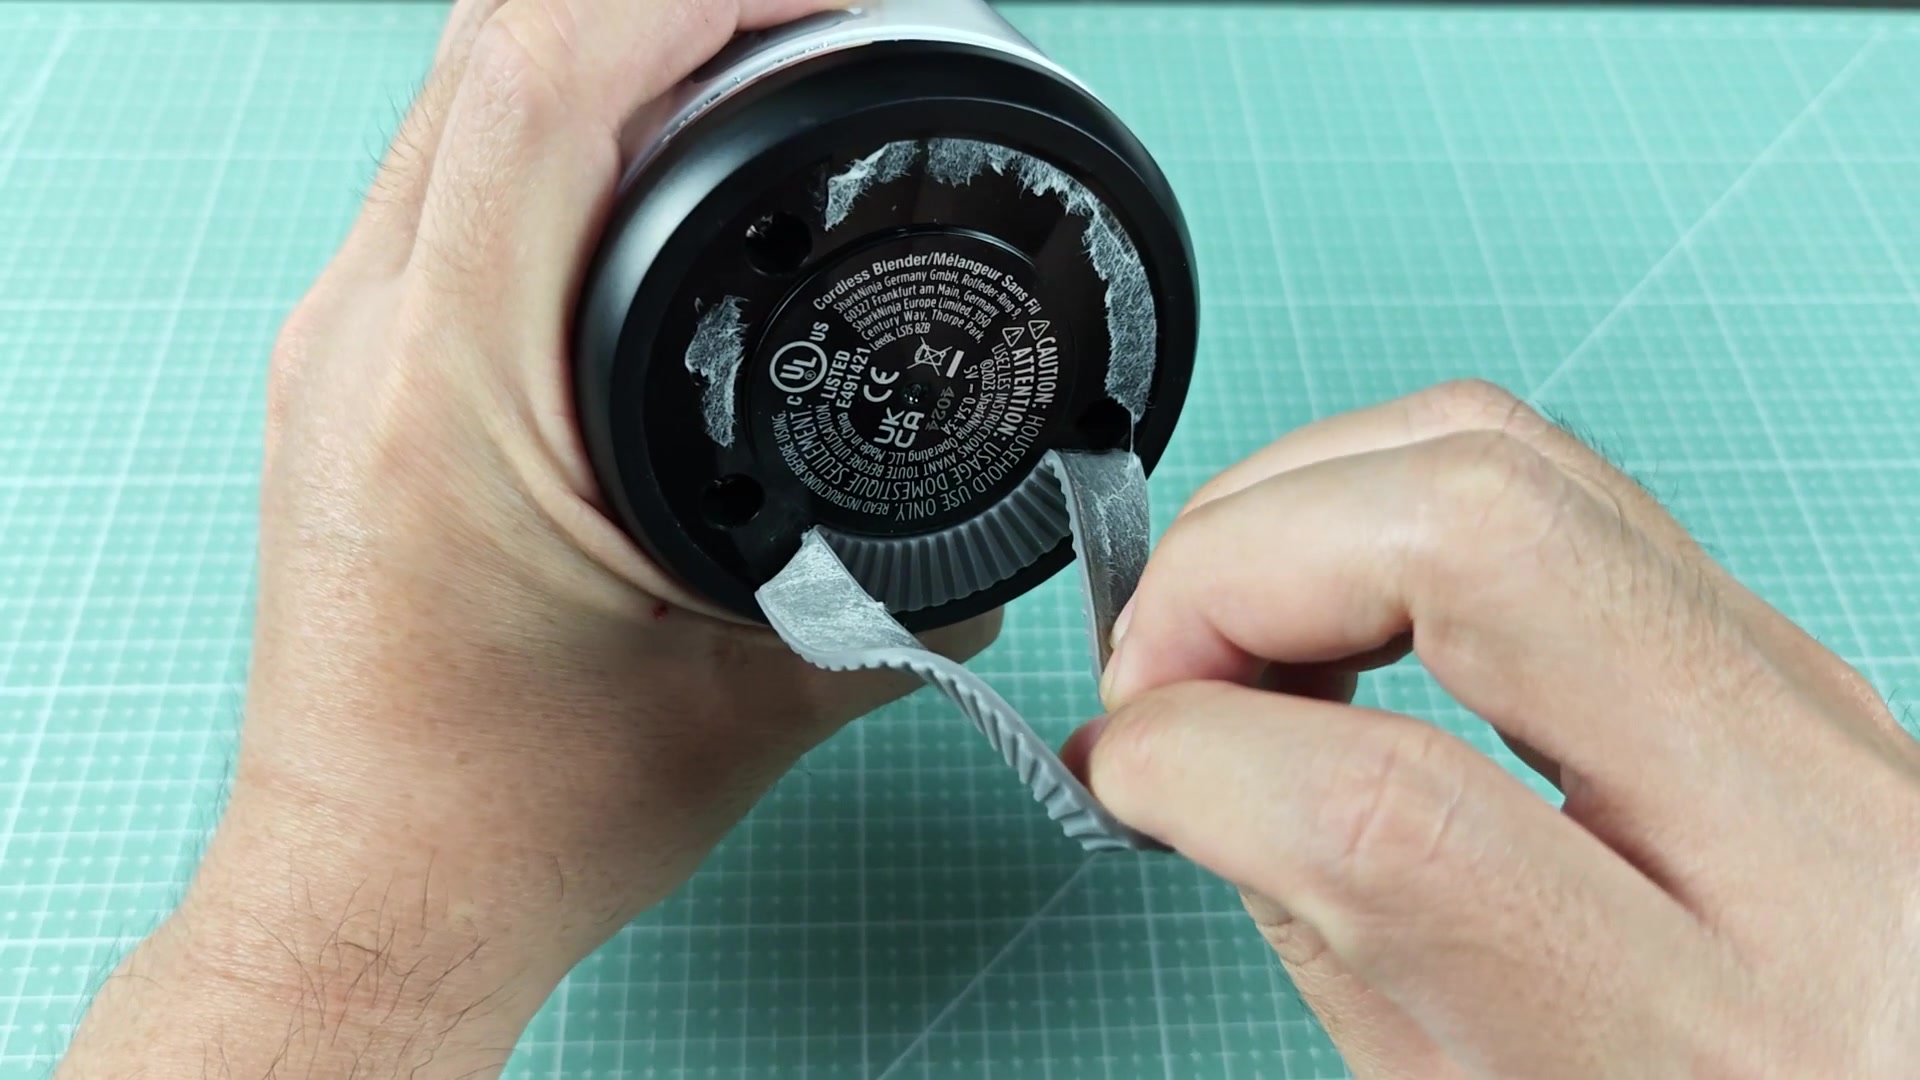
As with most products, the bottom cover is the gateway to the rest of the device. If youre ever curious how to do this, has anyone done it before? Are the screws hidden beneath the rubber foot pad? Or is there a clip ring to consider in addition to the Phillips screws? I've seen mentions that small Phillips screws sits under the rubber pad but I'm not certain if that's all that's required to remove the bottom cover.
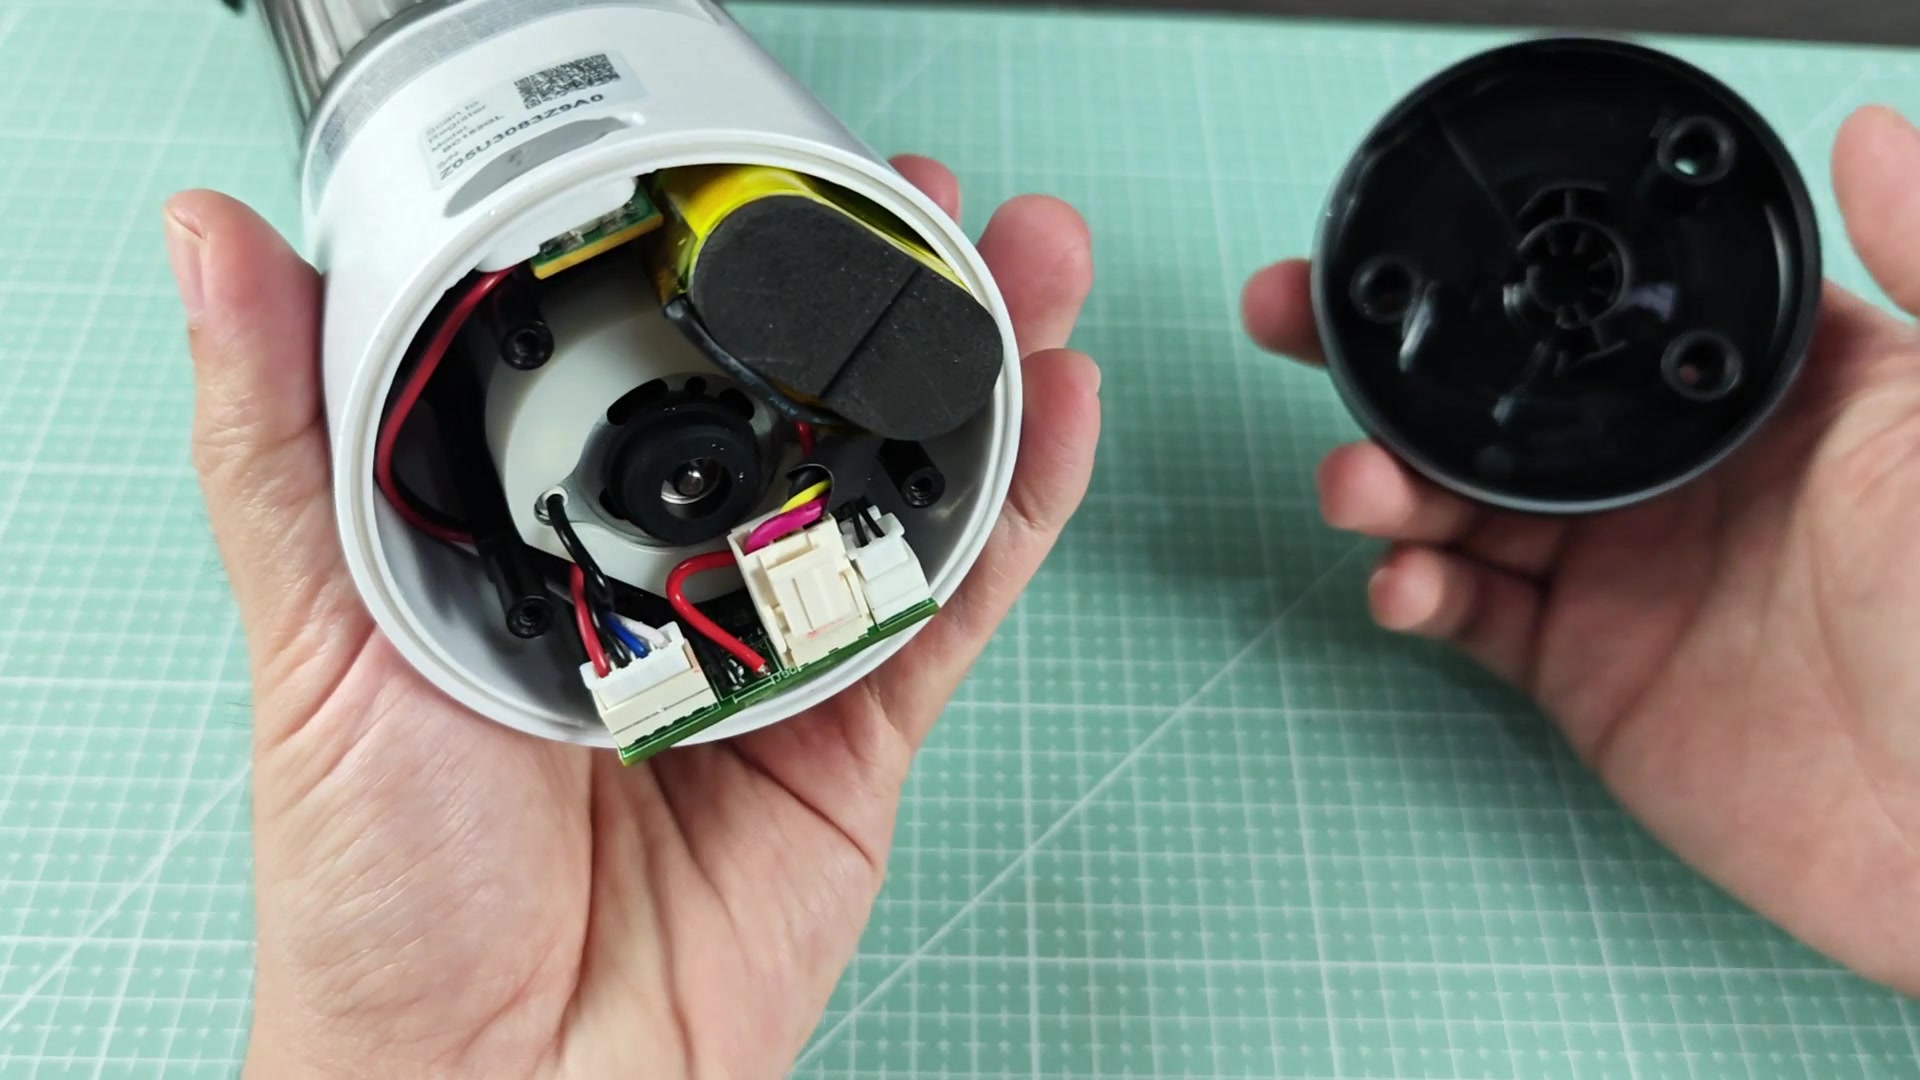
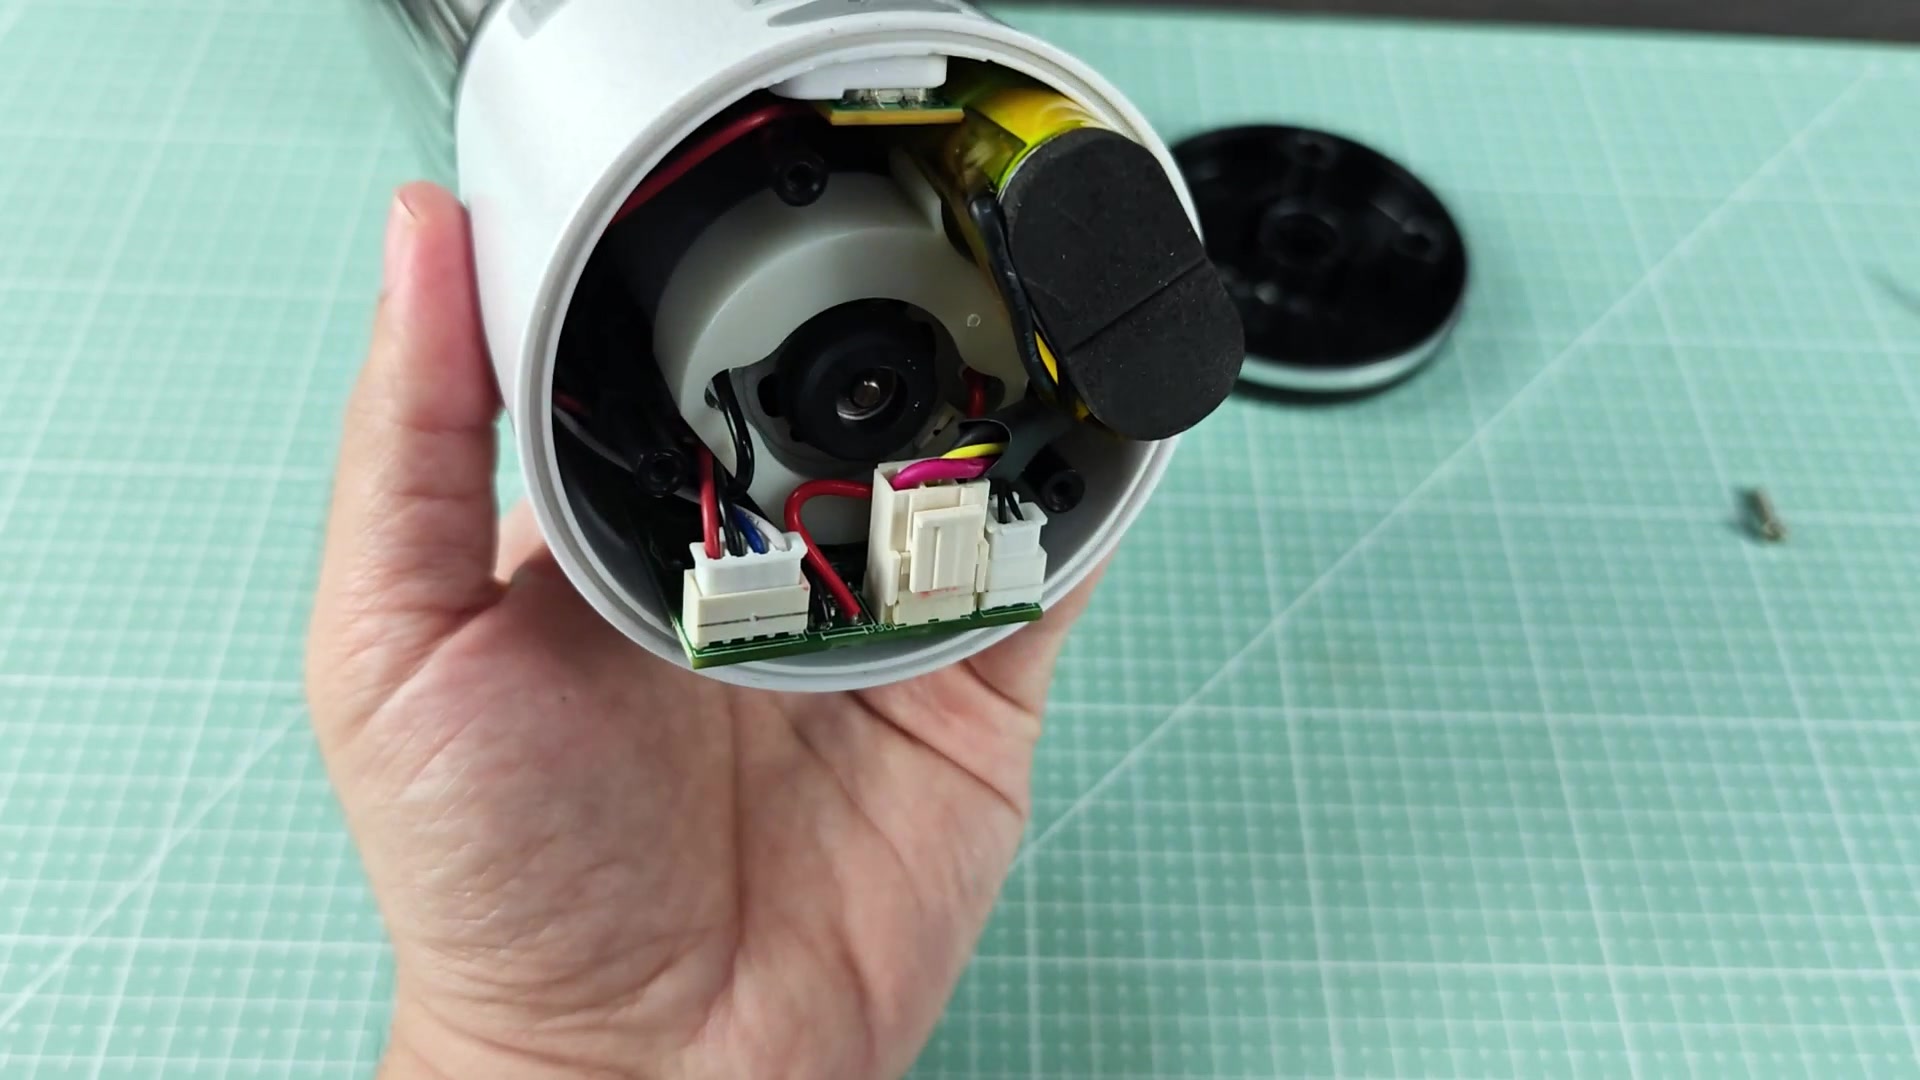
Is the charge port wire long enough to simply lift the bottom cover perhaps an inch or two? Or do you have to be ready to disconnect the wire from the charge port the moment you remove the bottom cover?
There seem to be limited information online regarding how to open these up so any information on how to do it safely (without breaking the plastic case) would be of great help to others in the same situation with these cheaper ($40) kitchen blender.
anyone-got-a-clean-way-to-pop-the-bottom-cover-off-a-ninja-blast-1.jpg

anyone-got-a-clean-way-to-pop-the-bottom-cover-off-a-ninja-blast-2.jpg

anyone-got-a-clean-way-to-pop-the-bottom-cover-off-a-ninja-blast-3.jpg

anyone-got-a-clean-way-to-pop-the-bottom-cover-off-a-ninja-blast-4.jpg

anyone-got-a-clean-way-to-pop-the-bottom-cover-off-a-ninja-blast-5.jpg

anyone-got-a-clean-way-to-pop-the-bottom-cover-off-a-ninja-blast-6.jpg

anyone-got-a-clean-way-to-pop-the-bottom-cover-off-a-ninja-blast-7.jpg

anyone-got-a-clean-way-to-pop-the-bottom-cover-off-a-ninja-blast-8.jpg
 
Did mine like 2 months ago. Peel the rubber foot pad off the bottom of the blender slowly. There's 4 phillips screws under the rubber pad. Once the screws is out, the bottom cover still feels like it should come off but there's a lip around the edge of the cover. Use a plastic pry tool to pop it off. There's no clip ring on these.
 
The wires from the charge port on the blender has enough length so that you can lift the bottom cover up by an inch or two. Dont yank the bottom cover up too much though. Just flip the blender sideways and you can expose the charge port connector if you want to disconnect it.
 
Did mine like 2 months ago. Peel the rubber foot pad off the bottom of the blender slowly. There's 4 phillips screws under the rubber pad. Once the screws is out, the bottom cover still feels like it should come off but there's a lip around the edge of the cover. Use a plastic pr…

wait, what kind of plastic pry tool are we talking about here? Will a guitar pick work or do we need to purchase one of those ifixit blue spudger tools? Also, will the rubber foot pad just rest back on with the original adhesive or is there something else needed?
 
wait, what kind of plastic pry tool are we talking about here? Will a guitar pick work or do we need to purchase one of those ifixit blue spudger tools? Also, will the rubber foot pad just rest back on with the original adhesive or is there something else needed?

A guitar pick works. I used one of those. The foot pad uses silicone with a sticky back and simply restuck without problem. Just dont get fingerprints on the sticky side. If its an older foot pad the silicone has dried out, a thin ring of double sided tape work better.
 
why are you guys spending time on a 40 dollar blender lol just buy a new one

I cant believe the throw away comments on this thread. Why open up a $40 blender when the battery dies after a year and Ninja has zero replacement part for sale? What are you supposed to do, throw it in the landfill? I did this on mine. There's 5 screws not 4. There's one close to the center of the blender under the rubber foot pad. It's a little tricky to spot since the rubber pad is slightly thicker at the center. Be carefull when lifting the bottom cover. The speed switch board on some of these models is glued to the inside of the bottom cover so dont yank it up too much. Ask me how I know. I had to solder a jumper across two electrical pad on the speed switch board to get the blender to work again. It was a fun saturday though. Take pics of each stage of the 拆 opening process with your phone. Your future self will thank you.